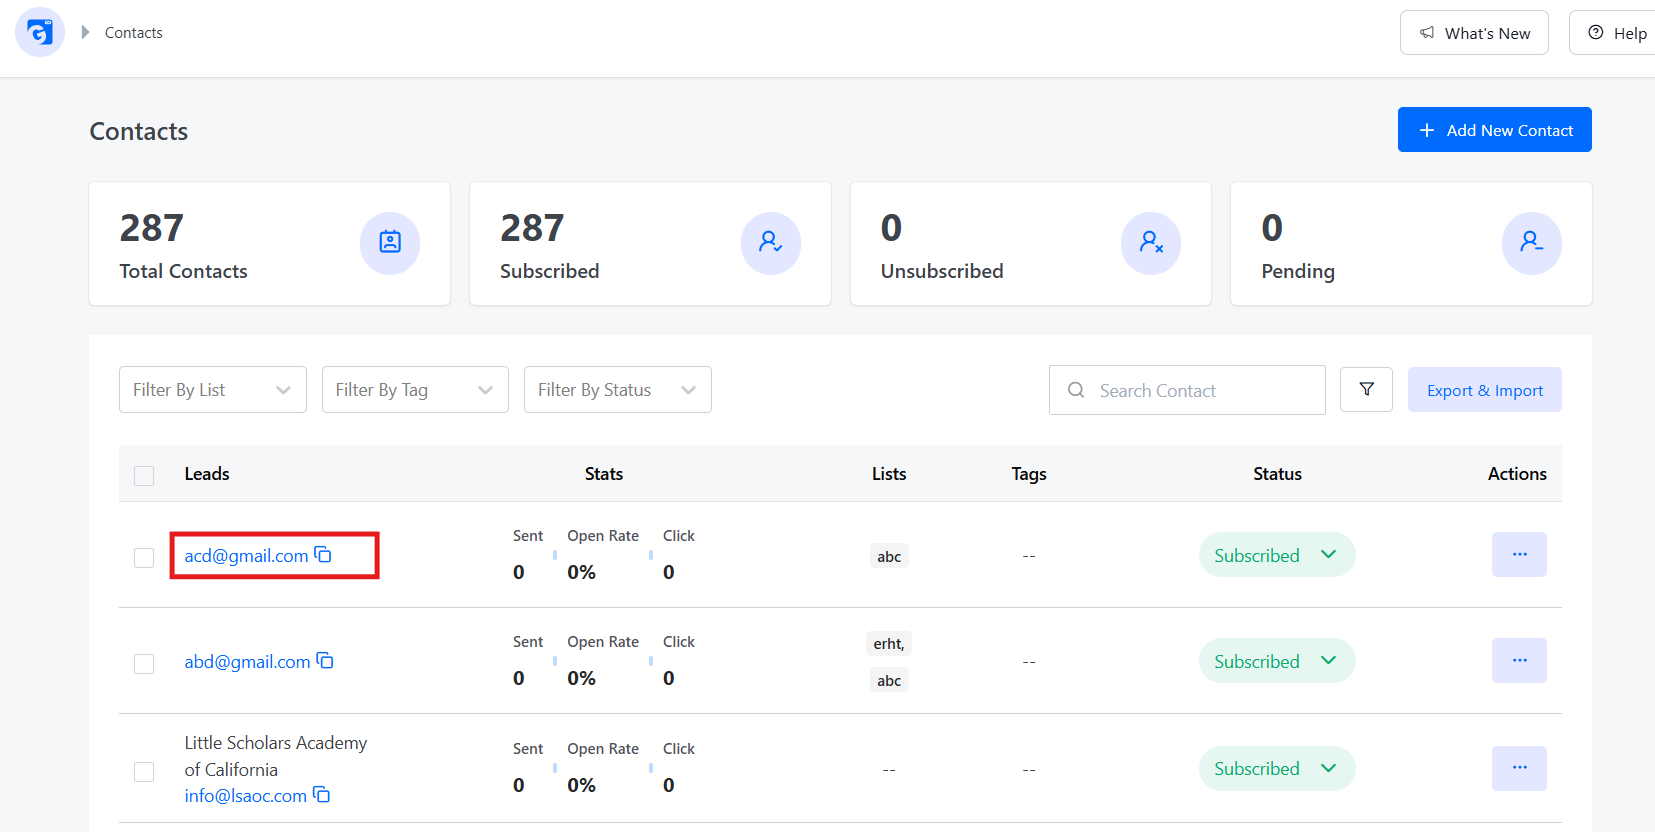
Forms to Lead Collect
GemCRM’s subscription forms let you capture leads directly from your WordPress site. This guide walks you through creating a form, configuring it, embedding it on a page, and verifying it works.
Step 1 — Copy the Shortcode
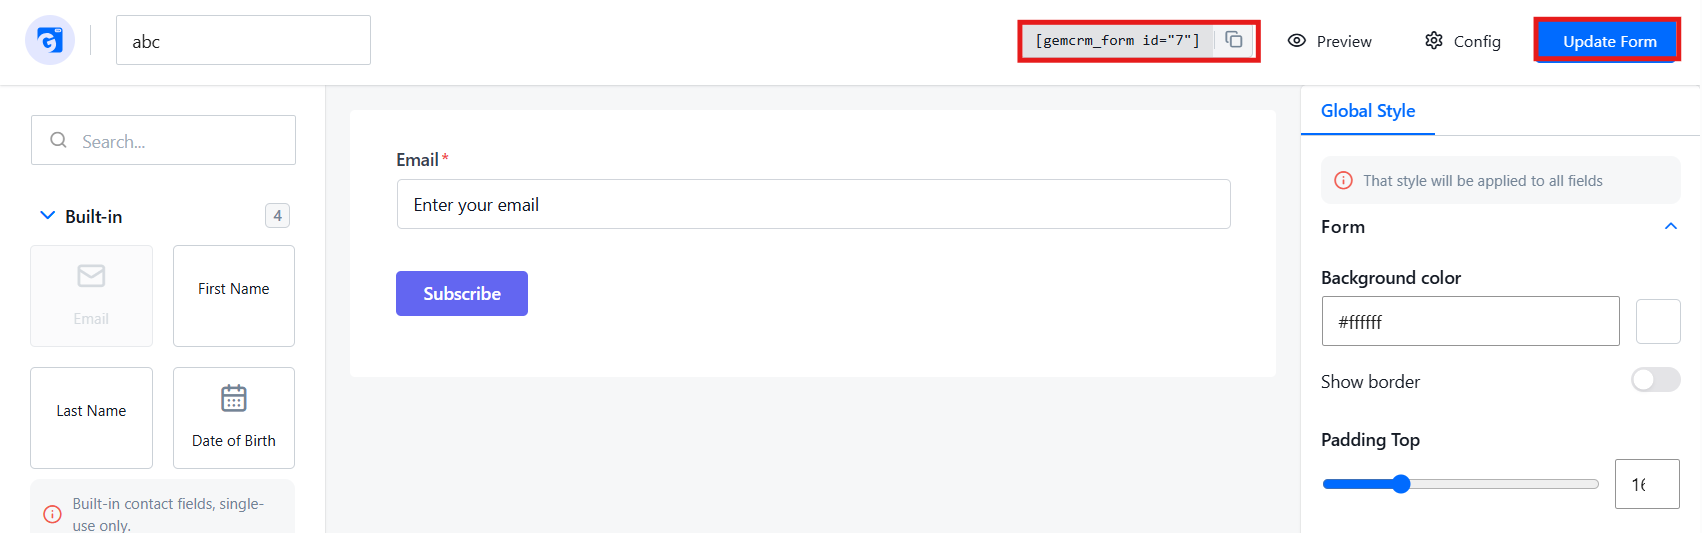
Once the form is saved, the shortcode appears in the top bar of the form builder next to the form name. Click the copy icon to copy it.
[gemcrm_form id="7"]You can also copy it anytime from the Forms list — the Shortcode column shows a copy button next to every form.
Step 2 — Embed the Form in a Post or Page
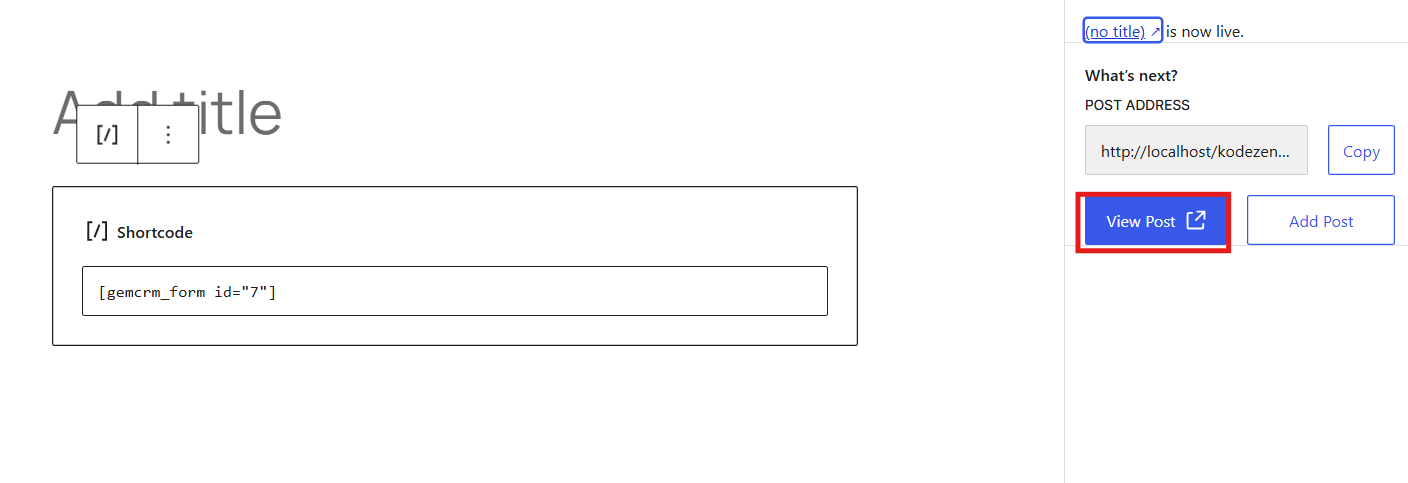
Open the WordPress post or page where you want the form to appear. Add a Shortcode block, paste your shortcode into it, then click Publish.

After publishing, a confirmation panel appears on the right. Click View Post to see the form live on your site.
Step 3 — Test the Form
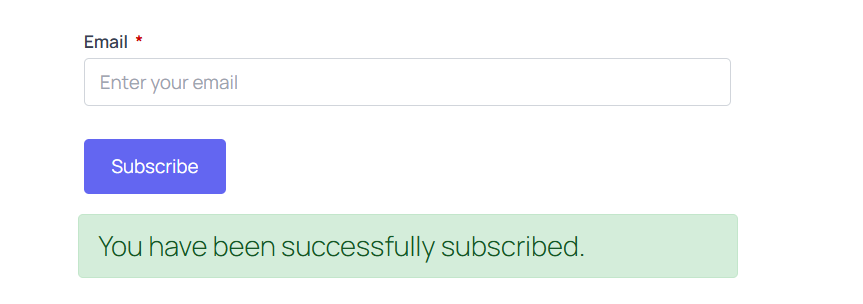
On the live page, enter a test email address and click Subscribe.
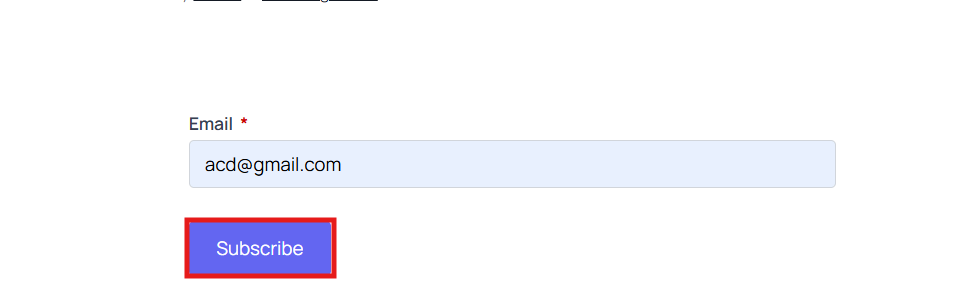
A green success message confirms the submission went through and the contact has been added to your list.
Step 4 — Verify the Lead in Contacts
Go to Contacts → All Contacts to confirm the submission was captured. The new lead appears at the top of the list with their email address, assigned list, and status set to Subscribed. Stats such as Sent, Open Rate, and Click are also tracked here for each contact.