


Contact Custom Fields let you extend the default contact profile with your own data points. When the built-in fields — name, email, phone — are not enough, you can add any number of custom fields to capture additional information that matters to your business, such as industry, birthday, company size, or subscription tier.
Custom fields appear on contact profiles and can be used in filters, segments, and merge codes throughout GemCRM.
Getting There
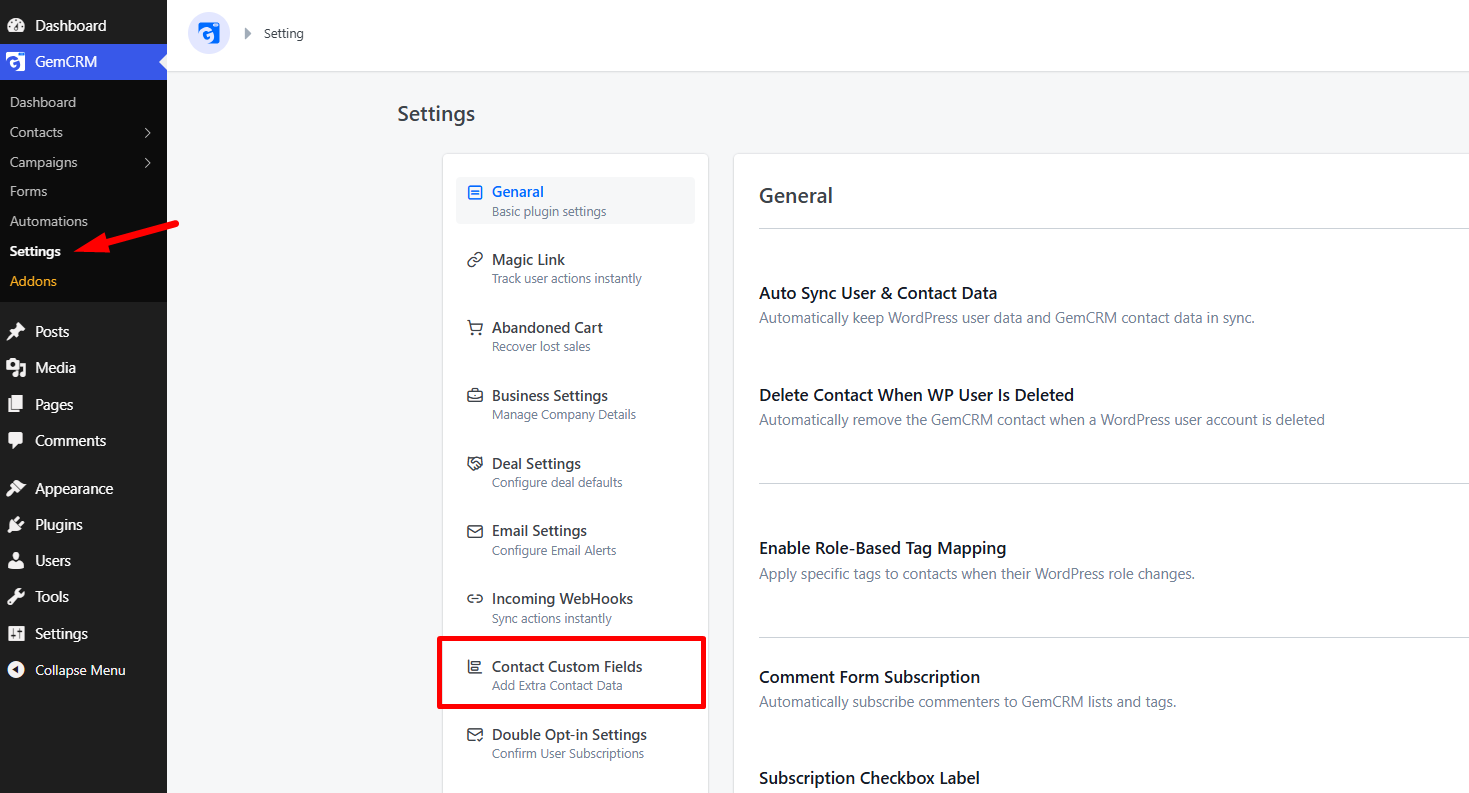
Navigate to GemCRM → Settings, then click Contact Custom Field from the settings sidebar.
The Custom Fields List
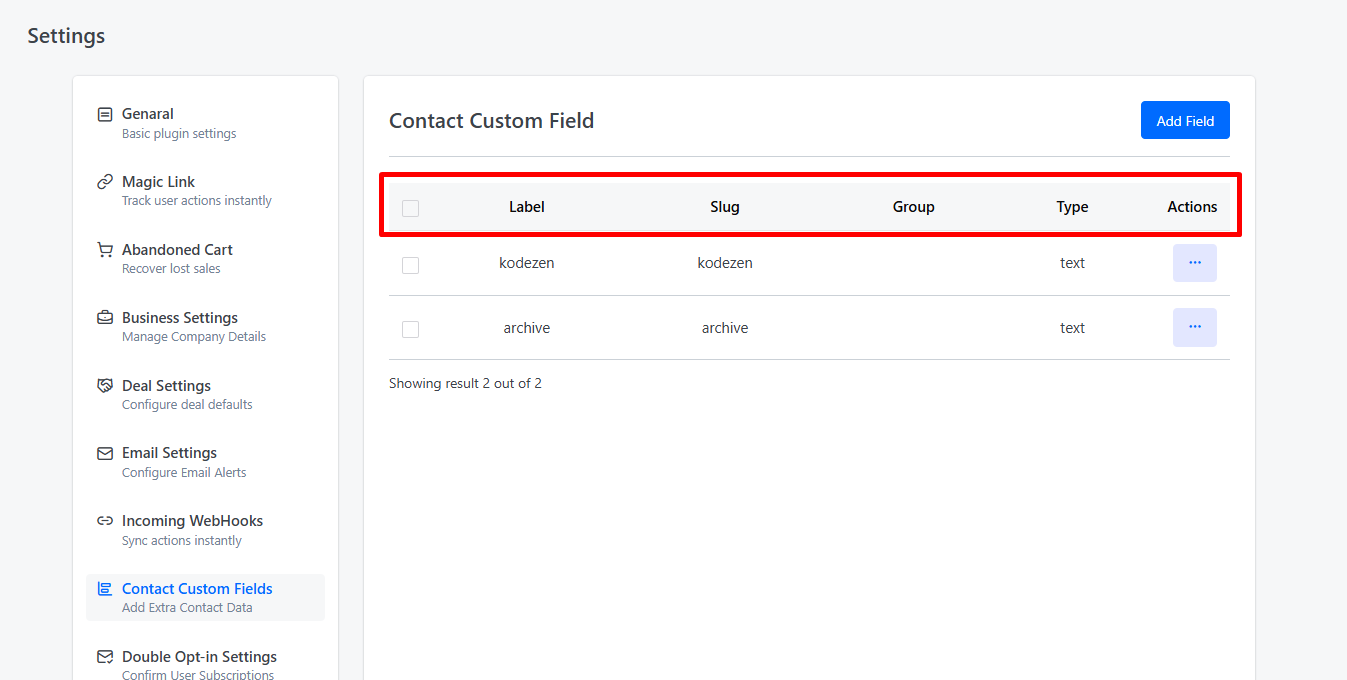
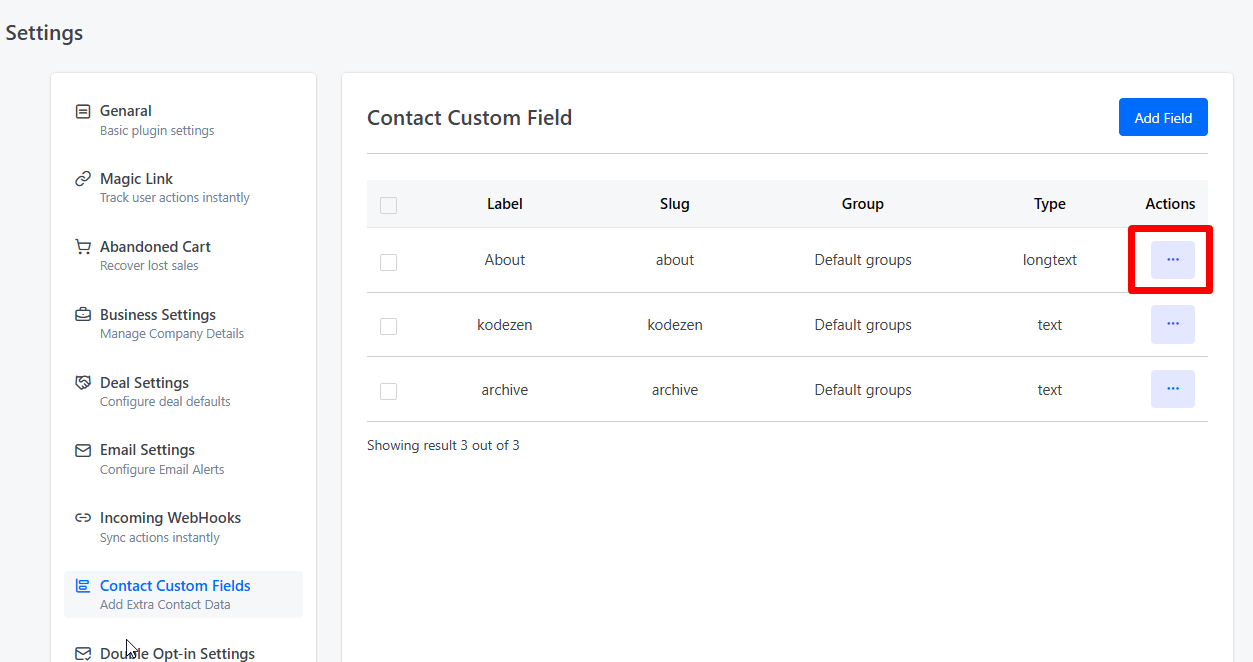
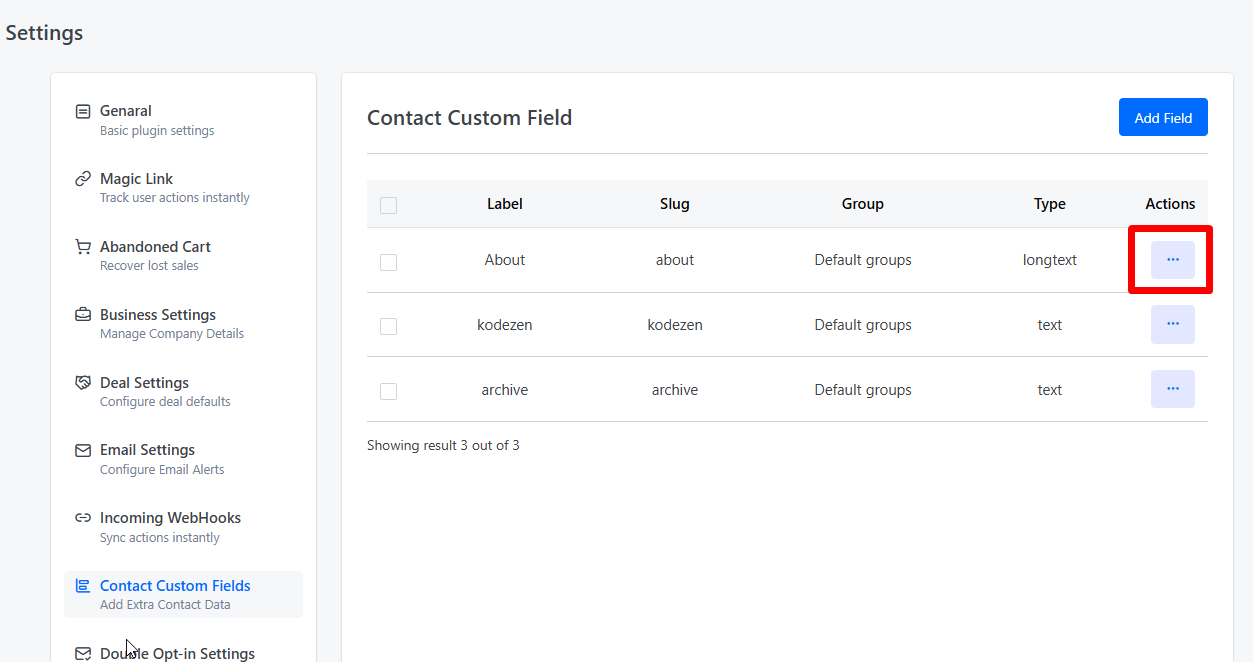
The main page shows a table of all your created custom fields. Each row displays:
|
Column |
Description |
|
Label |
The human-readable name displayed on the contact profile |
|
Slug |
The unique system identifier used internally and in merge codes |
|
Group |
The section this field belongs to on the contact profile |
|
Type |
The kind of input this field uses (text, number, select, etc.) |
|
Actions |
Edit or delete the field via the three-dot menu |
Creating a Custom Field
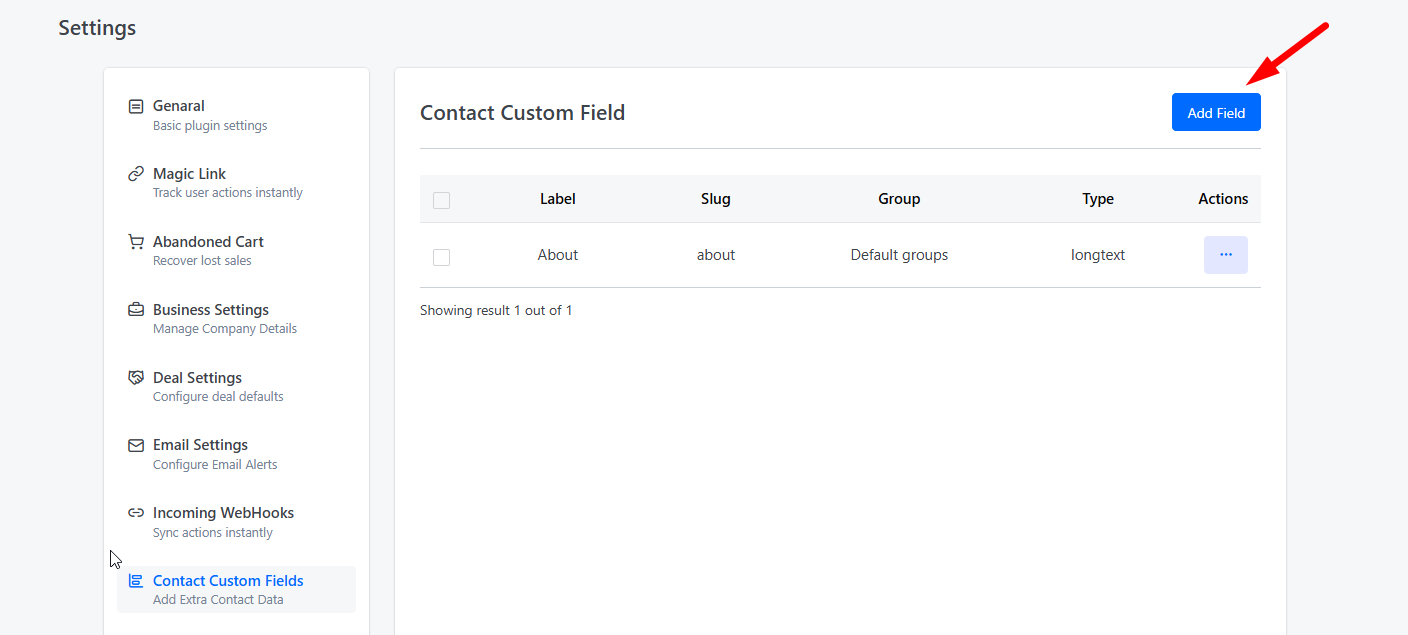
- Click the Add Field button in the top-right corner.
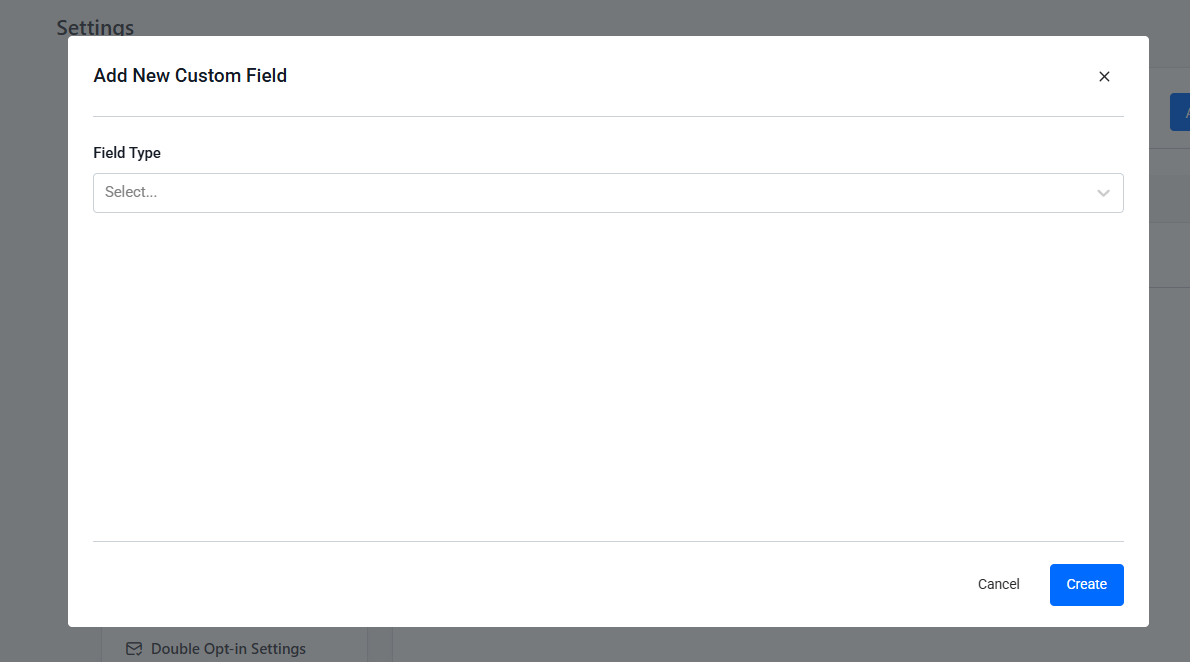
- The Add New Custom Field modal will open.
- Fill in the form (described below).
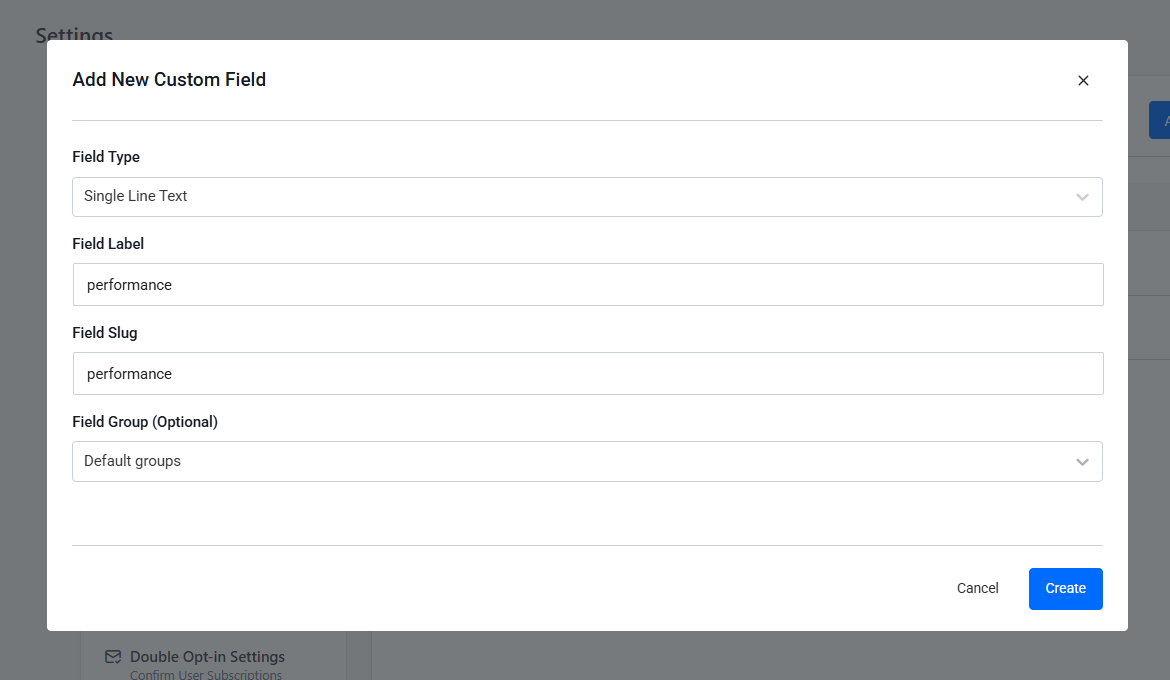
- Click Create to save the field.
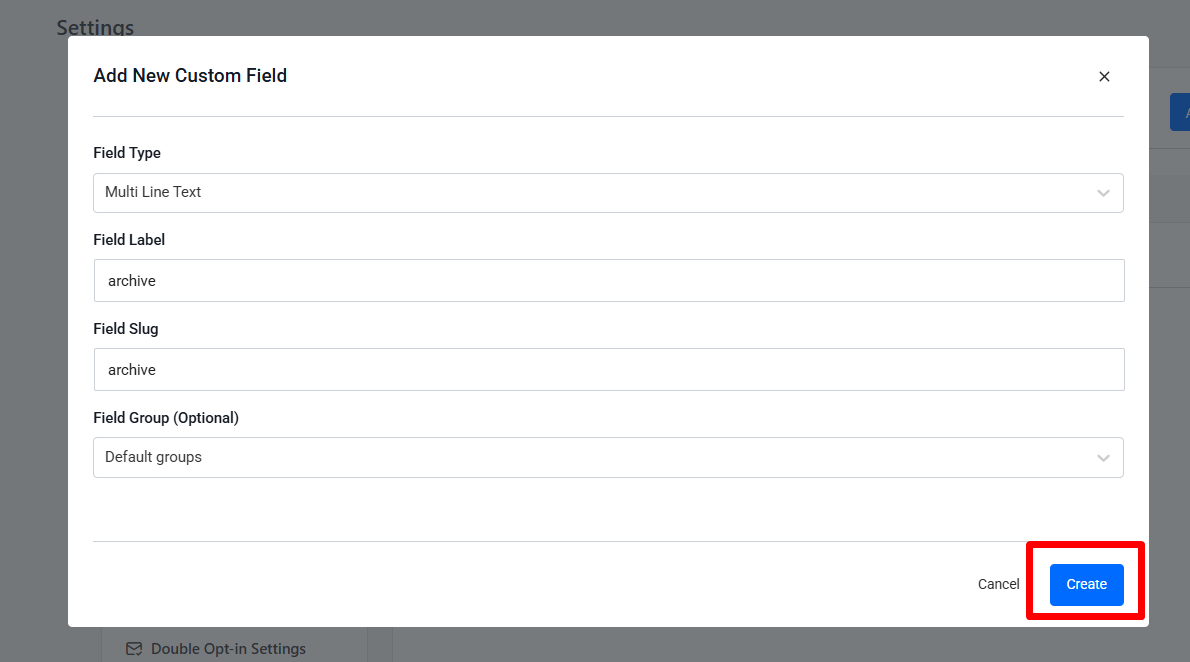
The Custom Field Form
Field Type (required)
Choose the type of input this field will use. The type determines how data is entered on the contact profile and cannot be changed after the field is created.
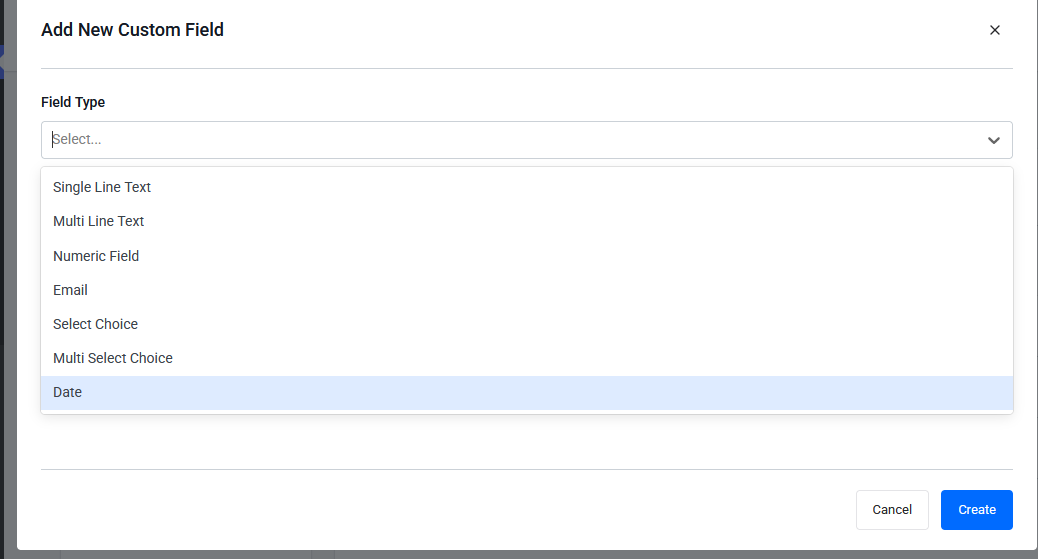
Available field types:
|
Type |
Description |
|
Single Line Text |
A short text input for brief values like a job title or city |
|
Multi Line Text |
A larger textarea for longer content such as notes or addresses |
|
Numeric Field |
Accepts numbers only — useful for age, order count, or revenue |
|
|
An email-formatted text input |
|
Select Choice |
A single-choice dropdown built from your own options |
|
Multi Select Choice |
A multi-choice dropdown — the contact can have multiple values selected |
|
Date |
A date picker for birthdays, renewal dates, or any date-based data |
Field Label (required)
The display name shown on the contact profile and throughout the CRM. Keep it short and clear.
Examples: Company Name, Birthday, Plan Tier, Annual Revenue
When you leave the Label field, the Field Slug is automatically generated from it. You do not need to type the slug manually.
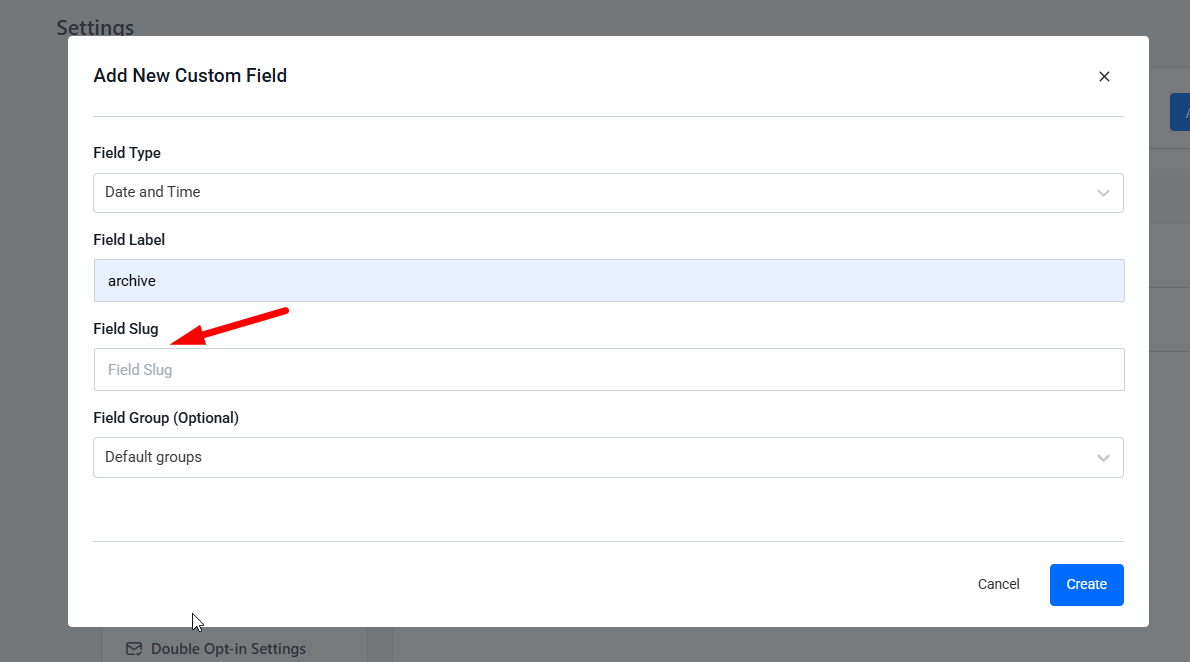
Field Slug (auto-generated, read-only after creation)
The slug is the unique internal identifier for this field. It is generated automatically from the label you enter (for example, Company Name becomes company_name).
Important: The slug cannot be changed after the field is created. It is used in merge codes and filters, so changing it would break any existing references.
Field Value Options (for Select and Multi Select types only)
When the field type is Select Choice or Multi Select Choice, an options builder appears where you define the choices available in the dropdown.
Adding an option:
- Type the option label in the text input at the bottom of the options list.
- Press Enter or click the Add button.
- The option will appear in the list with an auto-generated value (for example, Gold Member becomes gold_member).
Reordering options:
- Drag and drop options using the grip handle (⠿) on the left side of each option row.
- The order here is the order they will appear in the dropdown on the contact profile.
Removing an option:
- Click the × button on the right side of the option row.
- An option can only be removed if there is more than one option in the list.
Field Group (optional)
Groups organize custom fields into labeled sections on the contact profile, making it easier to scan and fill out.
- Select an existing group from the dropdown.
- Or type a new group name and press Enter to create it on the fly.
If no group is selected, the field will appear under the default section. Empty groups (groups with no fields assigned) are automatically cleaned up.
Editing a Custom Field
- Find the field in the table and click the three-dot menu (⋯) in the Actions column.
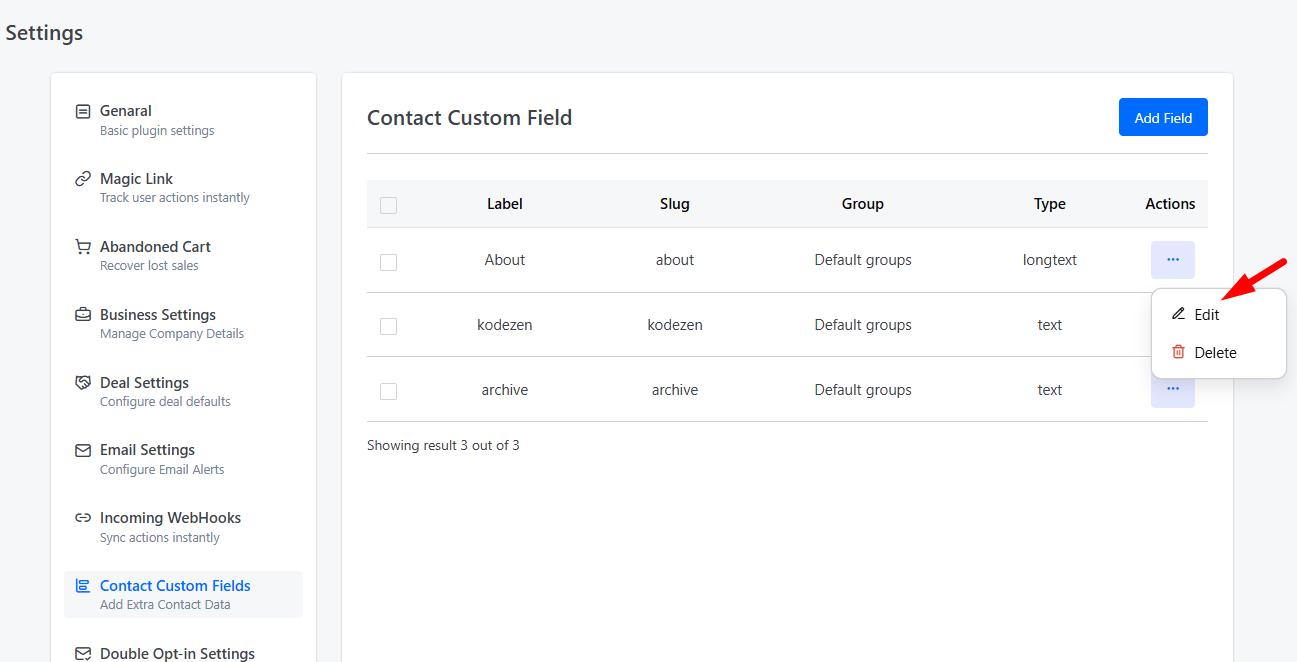
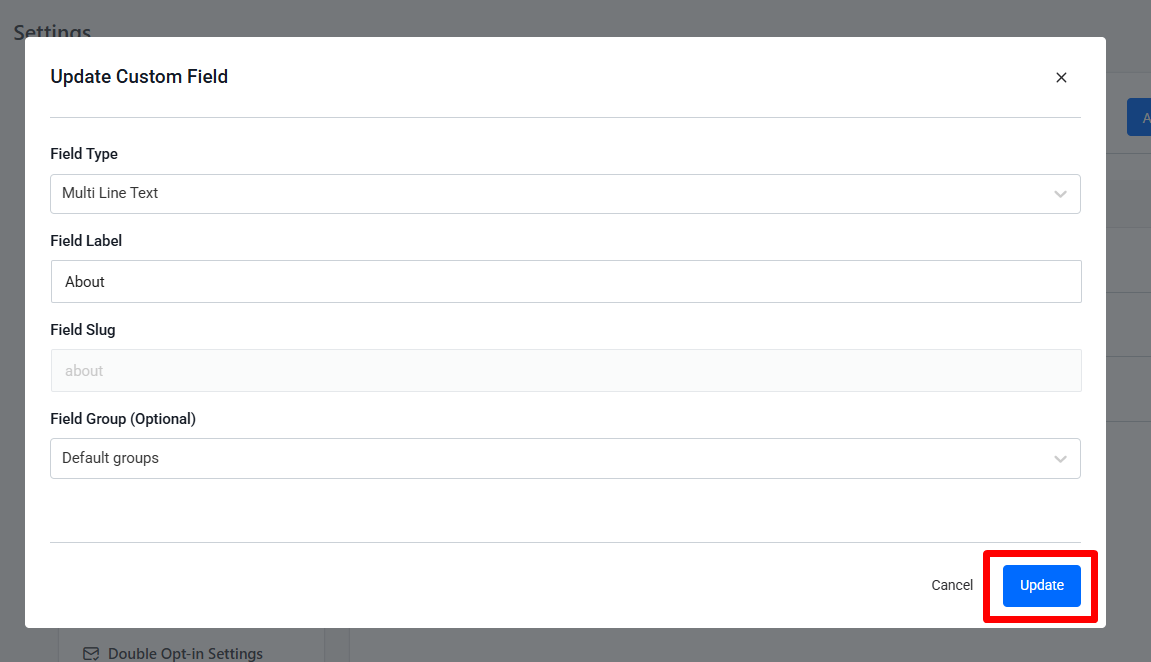
- Select Edit.
- The Update Custom Field modal will open, pre-filled with the existing values.
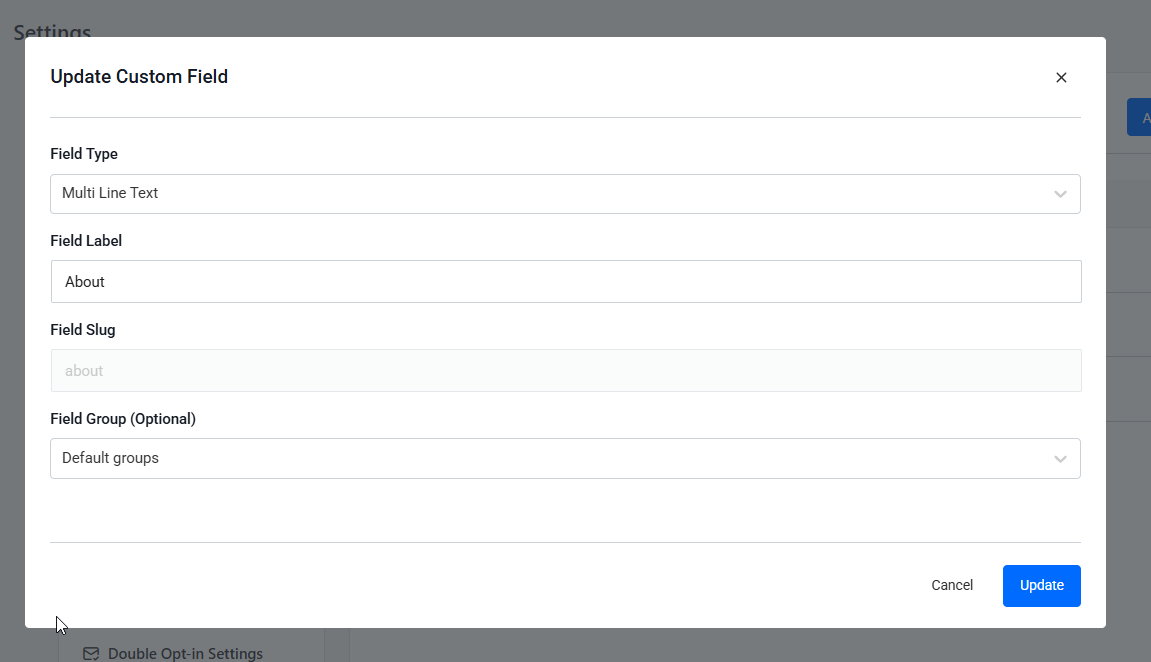
- You can update the Label, Options (for choice fields), and Field Group.
- The Field Slug is locked and cannot be changed.
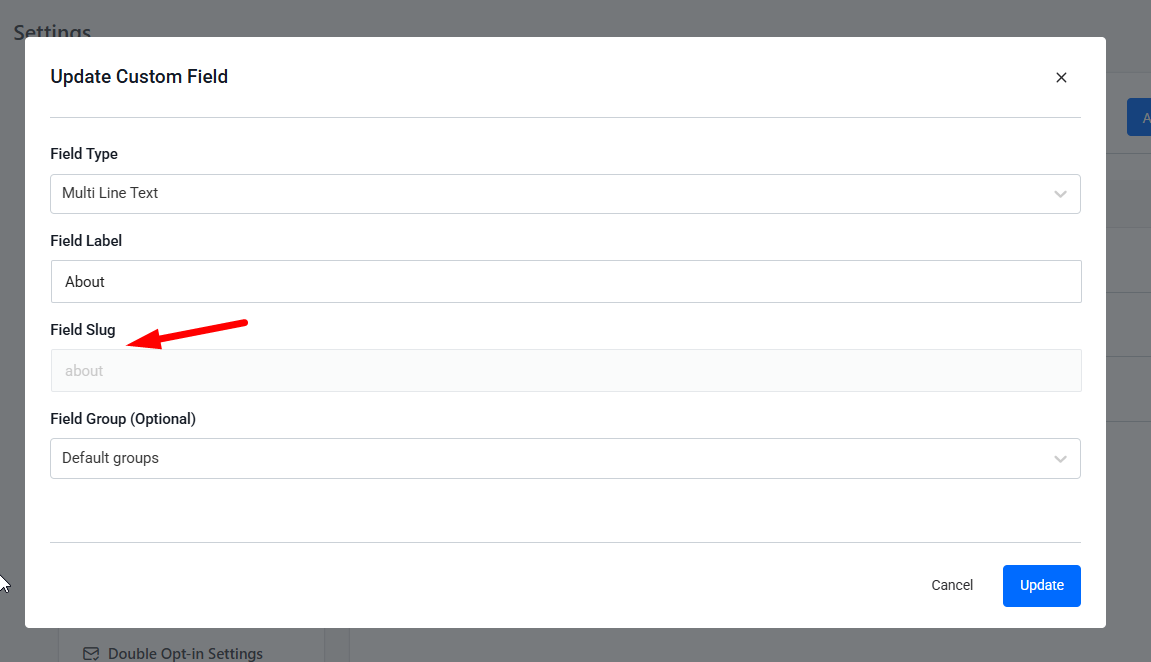
- Click Update to save your changes.
Deleting a Custom Field
Deleting a Single Field
- Click the three-dot menu (⋯) in the Actions column for the field you want to remove.
- Select Delete.
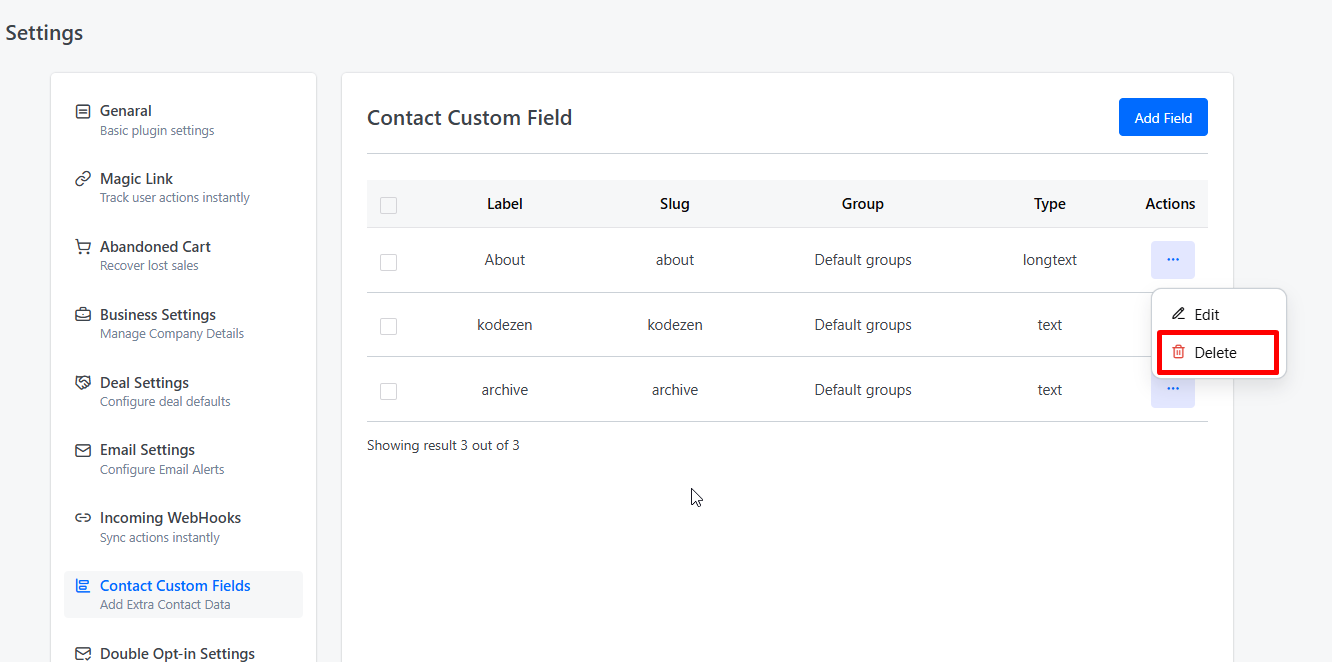
- The field will be permanently removed.
Bulk Deleting Fields
- Select multiple fields using the checkboxes on the left side of each row.
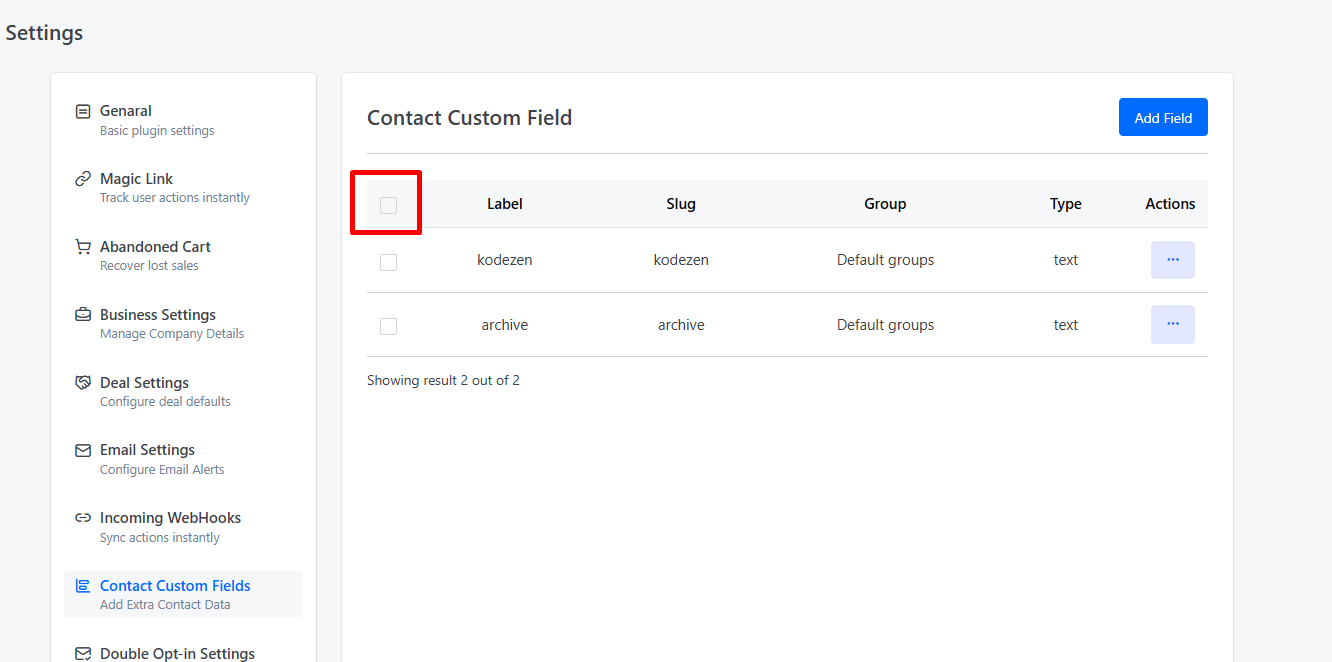
- A bulk action bar will appear at the bottom of the page.
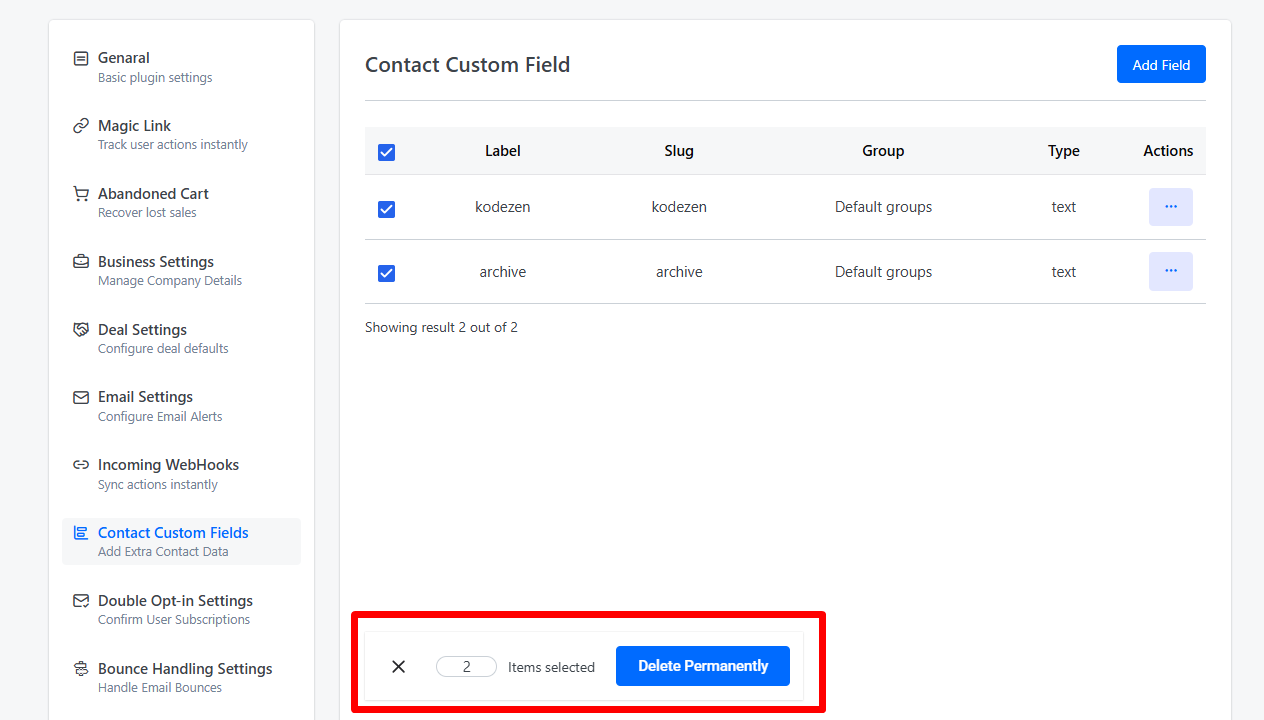
- Click Delete Permanently.
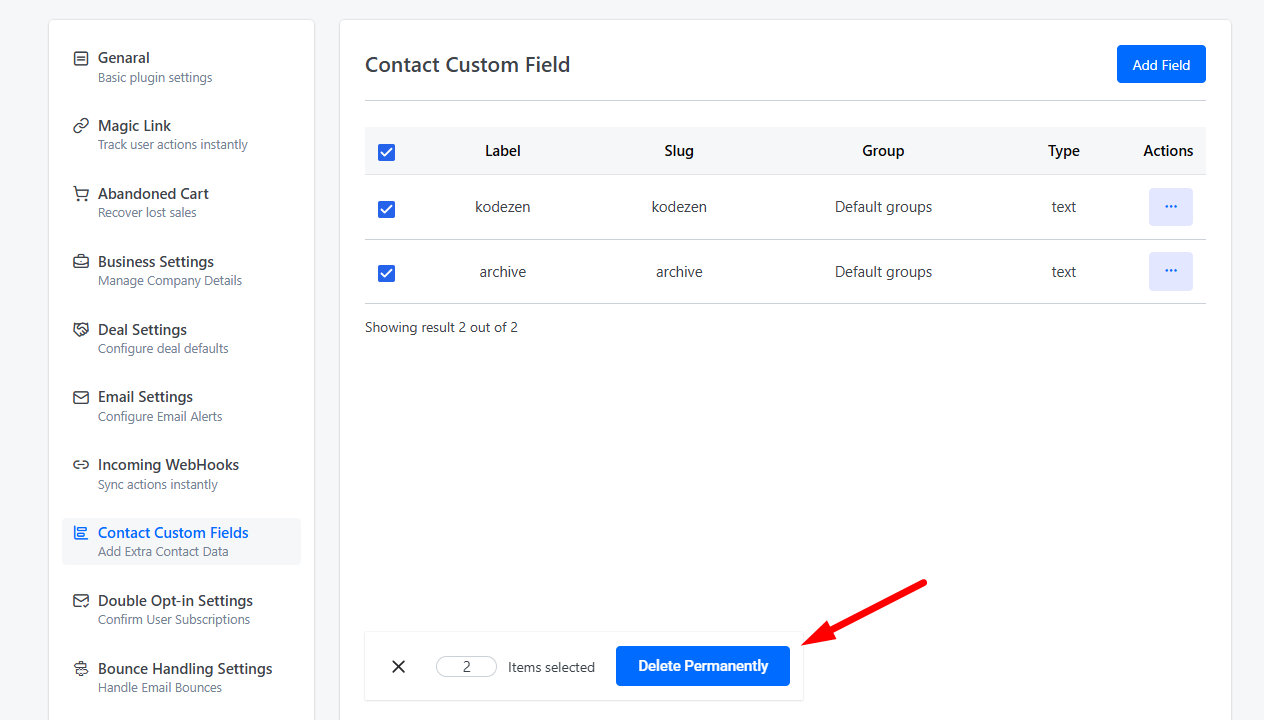
- Confirm the prompt to proceed.
Warning: Deleting a custom field is permanent. All data stored in that field across every contact profile will be lost and cannot be recovered.
Tips for Managing Custom Fields
- Plan your field types before creating them — the type is fixed after creation.
- Use groups to keep related fields together (for example, group billing fields under Billing Info and personal details under Personal).
- Use Select Choice instead of free-text fields whenever possible — consistent values make filtering and segmenting far more reliable.
- Keep slugs readable — they appear in merge codes, so annual_revenue is more useful than field_7.
- Before deleting a field, check whether it is referenced in any active segments, automations, or email templates.